Instructions SCALE
Instructions - Scale Video
Collapsible content
Collapsible content
Location
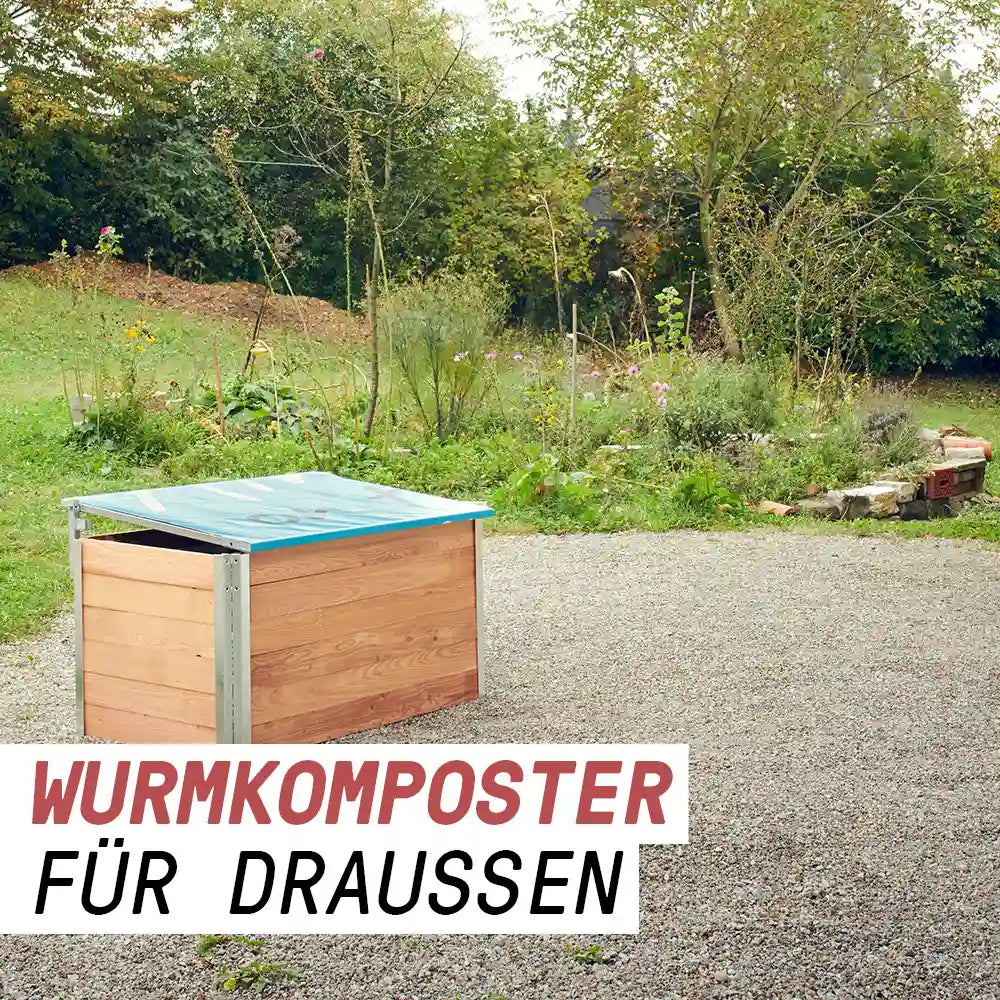
A good location for the SCALE worm composter is shady to semi-shady, on a levelled surface. The SCALE worm composter is open at the bottom, i.e. a "grown" soil such as grass/soil is ideal. The turf and any plants with roots are removed. Shredded, this material is suitable for the worm bed (see below). However, the SCALE can generally be set up on all non-soil-sensitive surfaces such as gravel/concrete slabs.
SCALE is a modular system in which any number of modules can be connected together:
W1:
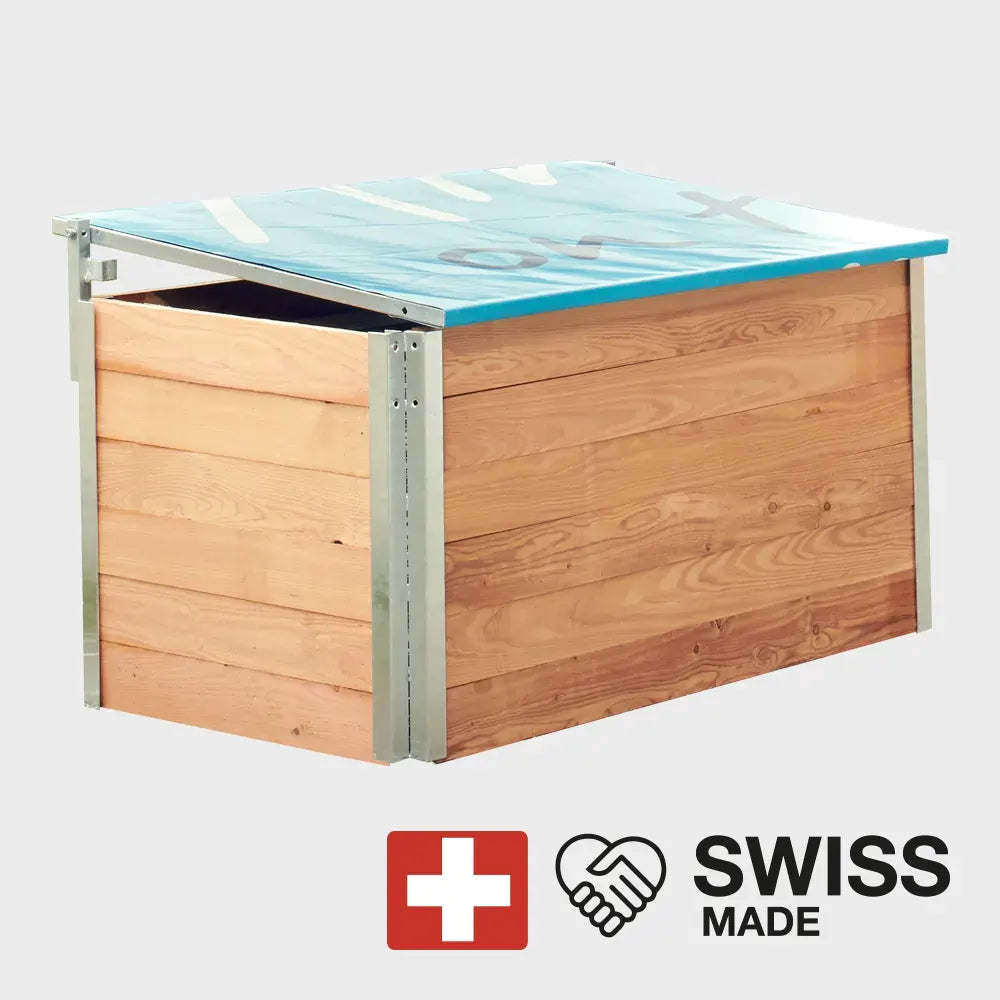
120cm length / 80cm width / 70cm height (divided into two compartments)
W2:
240cm length / 80cm width / 70cm height
W3:
360cm length / 80cm width / 70cm height
Composting Basics
Composting with the SCALE is easy. To ensure that the worms do well and you enjoy composting, follow the composting basics
Get started
- Mix ± 40 liters of soil (ideally garden soil, but old potting soil or purchased organic bagged soil is also suitable) with wilted leaves, small twigs, and some compost if available. Aim for a loose mixture.
- Add ± 20 liters of fresh organic waste to the "bed mixture" in a thin layer and mix everything lightly.
- Now, you can carefully add the worms.
- Moisten everything evenly with ± 20 liters of water.
Operation
± WEEK 2-8
Start feeding slowly. Then add more waste to the compost once half of the waste has been processed. For all SCALE versions, spread the waste over the entire available surface. Only before harvesting do you pause individual areas (chamber in W1 or modules from W2 onwards; see Harvest section).
Be aware that the SCALE tends to dry out, especially in the start phase. Therefore, regularly check the moisture in the first weeks after starting, considering the basics of worm composting. The SCALE can be well maintained with a watering can, and the motto is: better too much water than too little.
± FROM WEEK 8
Now you can continuously increase the amount of waste. As described in the basics, 30-50% structural material should be added to the kitchen waste. The amount that can be composted depends on various factors: temperature, moisture, C/N ratio, and the nature of the waste.
One module processes household waste from ± two to three families. It doesn't matter whether you add waste to the SCALE daily or weekly, but ensure that the layer of fresh waste is no more than 5-10 cm thick. Otherwise, it could lead to heat development harmful to the worms.
As the volume of waste increases, so does the moisture in the compost. Depending on the nature of your waste, additional watering may not be necessary. However, continue to ensure that it is moist but not wet and smelly.
Useful links
Harvest

- When the SCALE is about two-thirds full, prepare for the harvest. This usually happens after about a year, by which time the waste volume will have reduced by up to 80%. Thanks to the continuous process, you don't need to wait for "fertilizer demand" and can harvest at any time.
- Before harvesting, feeding in one area must be paused for 3 to 6 weeks. During this pause, the worms slowly migrate to the other side, which continues to be filled with waste. In the W1, a chamber to the left or right of the dividing element is designated for the pause; in the W2, one of the two modules is chosen.
- To harvest, you either remove the side boards (W1) or the longitudinal boards (from W2 onwards). This gives you easy access to the finished humus.
-
After removing the humus, mix the remaining content evenly and distribute the waste over the entire surface as usual.
Harvesting W2/W3/W+
For the larger models (from W2 onwards), as described above, a part of the modules is paused to be able to harvest them "worm-free" later. The remaining content is also spread over the entire surface after the harvest.
Also look here
Maintenance
The SCALE is easy to care for and requires hardly any maintenance.
- To prevent puddles on the composter, the roof can be regularly tightened on the underside using a tensioning cord.
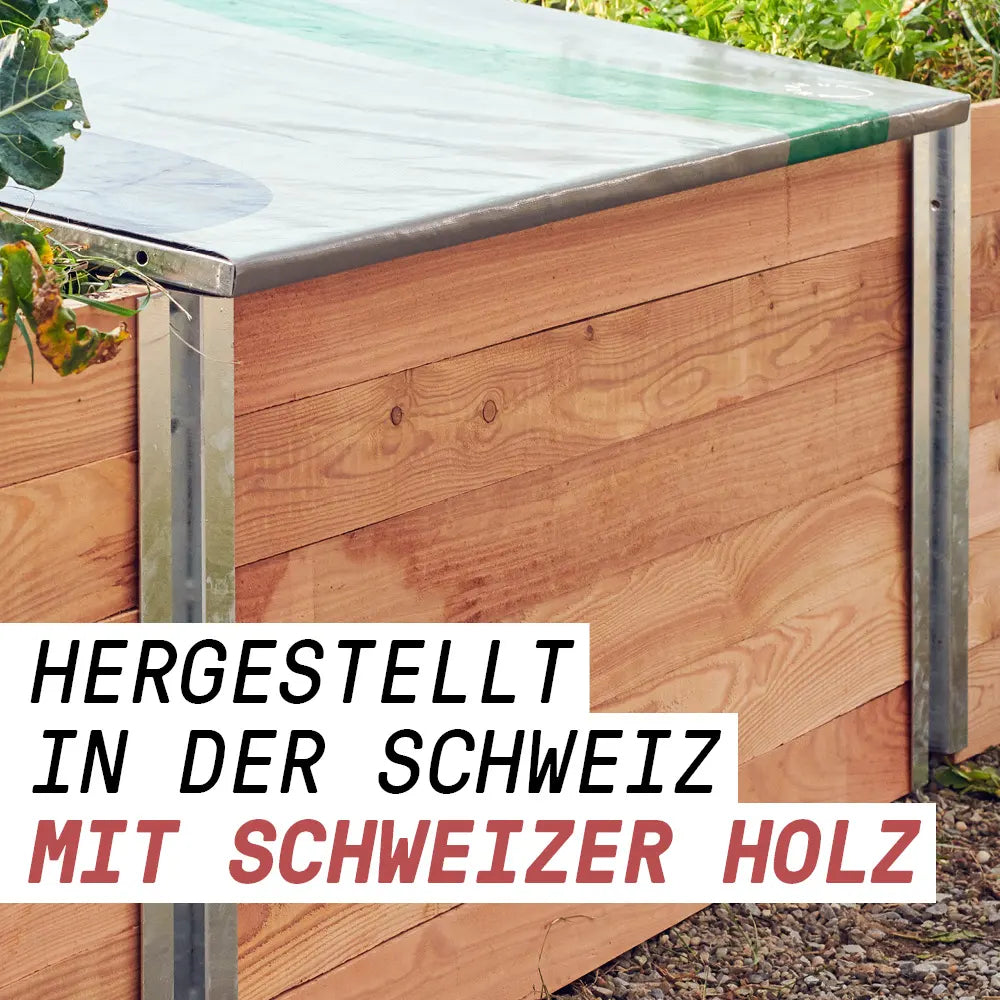
- Avoid using detergent when cleaning the roof tarpaulin.
- The boards can be easily replaced if necessary.
Checklist
Regularly check if everything is running smoothly in your WormUp SCALE by observing your composter with all your senses: Watch the nimble worms hide from the light, feel the moisture, temperature, and crumbly structure, smell the earthy scent of the worm humus, and listen to the comforting smacking of the worms ;).
Worms |
|
|
|
The worms are found at the latest beneath the layer of waste, moving around and not all huddled together. |
|
|
When you lift the roof, the worms hide from the light, and if you spray them with a spray bottle, they quickly retreat. |
Compost Quality |
|
|
|
The top layer of fresh/undegraded waste is no thicker than 5-10 cm. |
|
|
It smells like earth and slightly like what you have just fed (e.g., banana or onion). If it smells bad, something is wrong, likely due to insufficient oxygen in the system. |
|
|
The worm compost is pleasantly loose, crumbly, and you can see worm castings. |
|
|
The compost is pleasantly moist like a squeezed sponge or like garden soil a few hours after rain. If you take a break in a chamber, this should also be sufficiently moist. |
Temperature |
|
|
|
The worm humus is "hand warm." If the compost is significantly warmer than the surrounding temperature, you probably have given too much or too much protein-rich food. |
Co-inhabitants |
|
|
|
Various organisms are present, but not in extreme amounts. Some Co-inhabitants can be indicators of how the system is running. |
If any of these indicators show that things aren't going smoothly, then take action or contact us. We're always here for you if you have questions!
Immediate Measures
Over time, you will become an expert on your little ecosystem. You will immediately notice when the system is out of balance, and you will sense whether you need to take action or simply wait for the system to balance itself out again.
The most effective remedies for almost all worm composting problems
- Reduce or pause feeding: You can detect overfeeding by the smell. Learn with patience how much waste your worms can process. It might not always be the same amount.
- Regulate moisture:
- If the compost is too wet, add dry structural material and temporarily reduce the amount of feed.
- If the compost is too dry, add water. Water with a watering can or water hose, always with a shower attachment, so that you don't flood your composter. Or leave the lid open temporarily when it rains. If the composter is very dry, larger quantities of water will be required.
- Play mole occasionally: At some point, you will feel the urge to stick your hands in the composter and thoroughly mix everything. This adds extra oxygen to the system and gives you a feel for the condition of your compost.
- Mix in moist soil (10-20 liters, e.g., garden soil)
- Sprinkle minerals over the chambers: Mineral Mix or rock dust
What to do if the compost is mushy and stinks?
- Mix in structural material or soil to get oxygen back into the system. Do not water anymore.
- Remove or otherwise dispose of rotten, mushy, or hot spots, e.g., bury in the garden/raised bed.

SCALE W1
share


