Instructions TUBE
Collapsible content
Collapsible content
Location
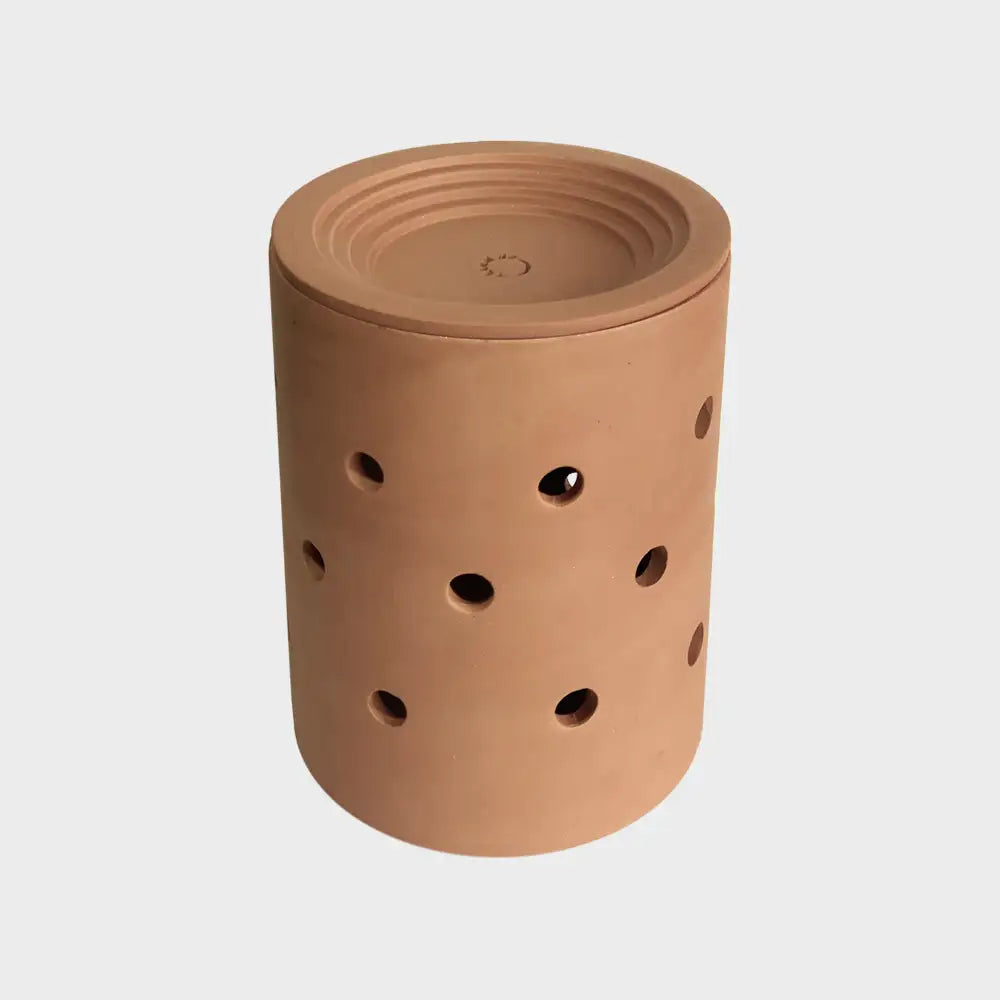
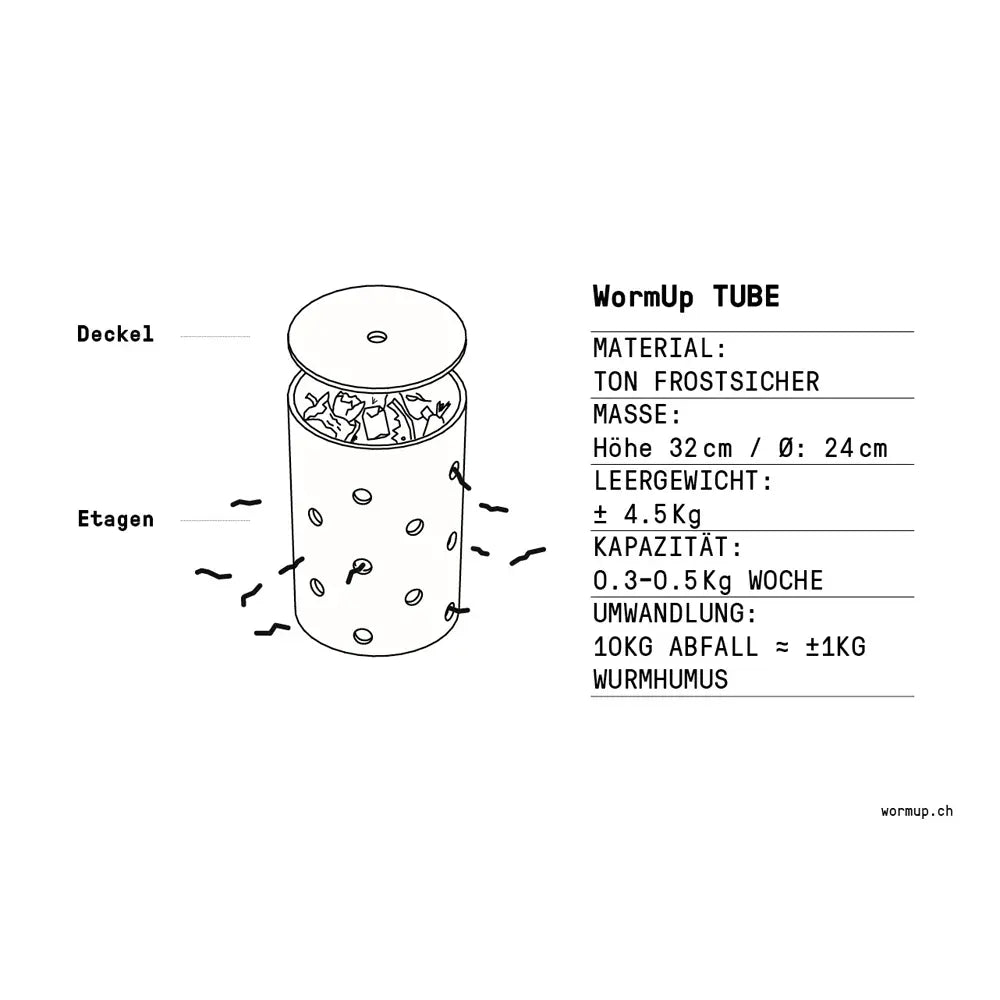
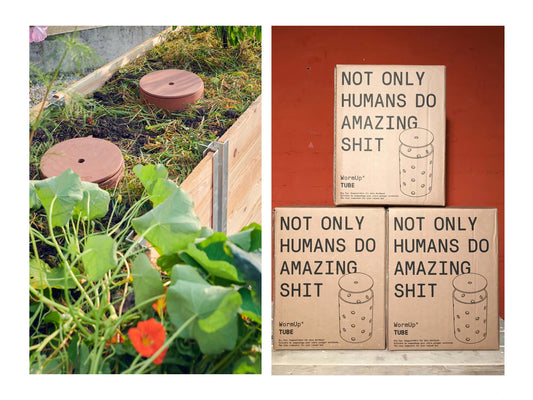
The WormUp TUBE is either buried in your raised bed, your garden bed or even in a large plant pot. An easily accessible place is ideal so that you can simply put your waste in it. Shady places, for example under a plant, can be good locations due to the natural cooling effect. The TUBE is frost-proof and can remain buried all year round.
Composting basics
Composting with the HOME is easy. To ensure that the worms do well and that you enjoy composting, follow the composting basics.
Get started
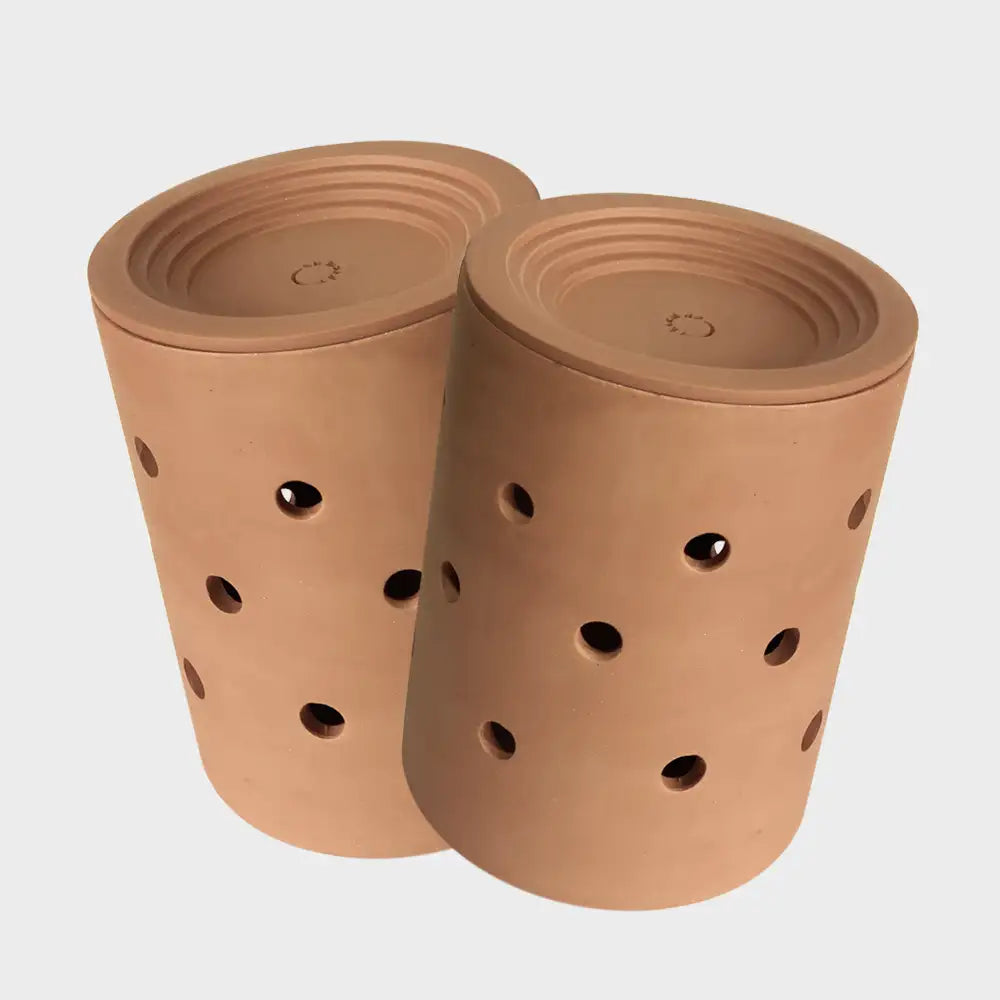
Your WormUp TUBE is as simple as it is ingenious: It transforms organic waste into the best fertilizer right where it's needed. Within a radius of about 60cm around the TUBE, the soil quality is significantly improved thanks to essential nutrients and microorganisms. To enhance these positive characteristics, we recommend using several TUBEs placed 120cm apart from each other.
- Bury the TUBE so that all holes are below the surface of the soil.
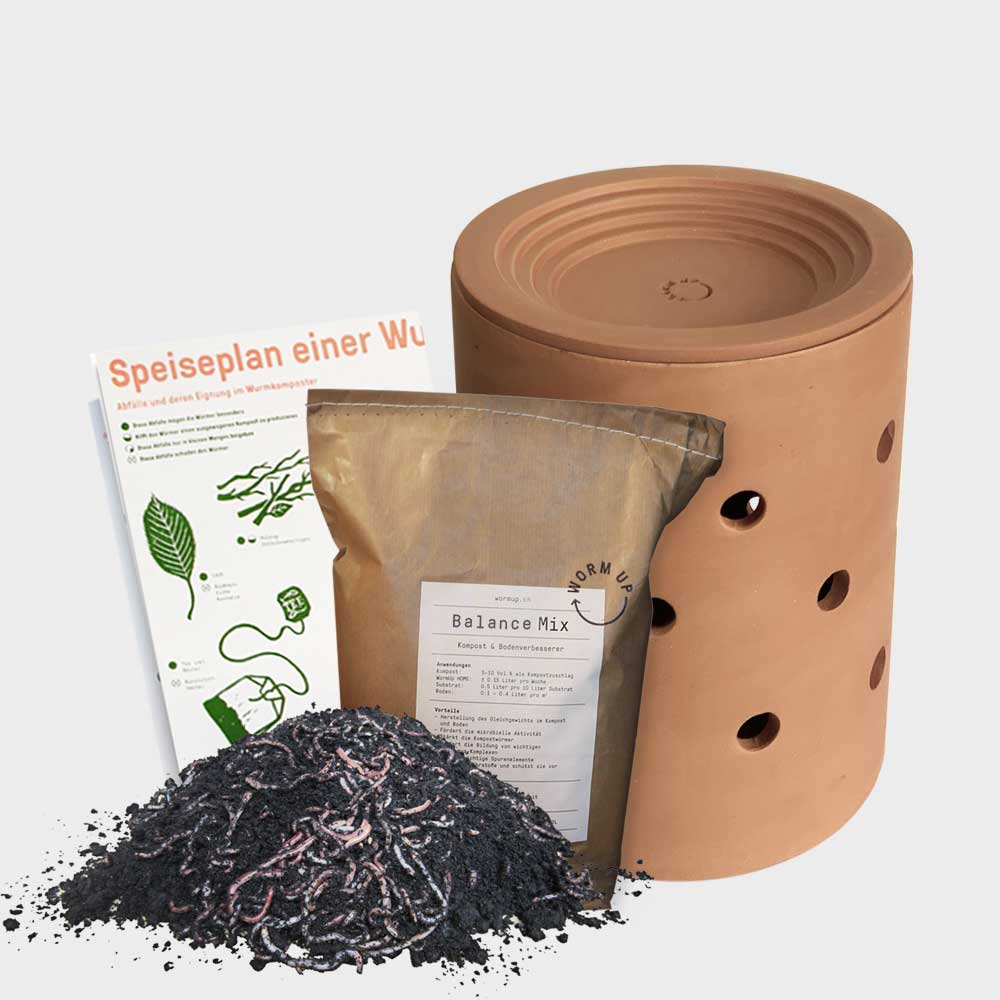
- Prepare a worm bed: For this, mix ± 5 liters of soil (ideally garden soil, but old potting soil or purchased organic bagged soil is also possible) with two to three handfuls of wilted leaves and small twigs, and a handful of shredded organic waste. Moisten the mixture with some water.
- Place the mixture into the TUBE.
- Now, you can carefully add the starter population of worms into the TUBE.
- After the worms have been added, add some more water. Then wait 3 to 4 days before adding your first organic wastes into the TUBE.
Operation
± WEEK 2-8
The composting capacity of the TUBE will be about 300 grams per week in the future. Initially, however, carefully add waste and gradually increase the amount slowly. Then add more waste to the composter when half of the waste has been processed. Chop the waste, for example, with scissors, ensure a good C/N ratio, and regularly check that it is moist (see the composting basics).
± FROM WEEK 8
From now on, you can regularly "feed" your TUBE with waste. Naturally, the amount processed varies depending on weather conditions and the type of waste you put in.
For efficient composting, the layer of fresh waste should not be thicker than 5cm. If microorganisms and worms can't keep up with the decomposition, take a few days off from feeding.
If you've filled the Tube rather quickly, take a break of about two weeks. The waste will decrease in volume, and there will be space for new waste again. Even during the break, ensure sufficient moisture.
TUBE in Winter
When it gets cold, the winter break begins. At temperatures below 5°C, the composting processes in nature more or less come to a halt. To avoid an accumulation of waste in your TUBE, we recommend pausing waste additions during this time. The TUBE is frost-proof and can remain buried. Since the TUBE is open at the bottom, the worms will retreat into the soil below the frost line during longer periods of cold. If you live in the mountains or particularly cold regions, a layer of straw can be added from the top into the TUBE for additional insulation. The worm cocoons survive even extreme cold periods, and the young worms hatch in the spring when it warms up again.
Useful links
Harvest
Is the Tube filled to the top and the layer of fresh waste only a few centimeters thick? Now it's time to harvest. Remove the top, fresh layer of waste and temporarily set it aside in a container.
Option 1: Harvest and continue composting at the same location
Option 2: Harvest and relocate the TUBE
You have the option to dig out the TUBE and relocate it to start anew at another site. Leave the finished compost in place, mix in some soil, and plant a heavy-feeding plant such as a pumpkin, zucchini, cucumber, or tomato. Use the top layer from the container as the starting substrate at the new location. And so the cycle continues.
Also look here
Checklist
Regularly check if everything is running smoothly in your WormUp TUBE by observing your composter with all your senses: Watch the nimble worms hide from the light, feel the moisture, temperature, and crumbly structure, smell the earthy scent of the worm humus, and listen to the comforting smacking of the worms ;).
Checklist
Worms |
|
|
|
You should find the worms under the layer of waste, moving around and not clumped together. |
|
|
When you lift the lid, the worms hide from the light, and if you spray them with a spray bottle, they quickly retreat. |
Compost Quality |
|
|
|
The top layer of fresh/undegraded waste is no thicker than 2-5 cm. |
|
|
It smells like earth and slightly like what you have just fed (e.g., banana or onion). If it smells bad, something is wrong, likely due to insufficient oxygen in the system. |
|
|
The worm compost is pleasantly loose, crumbly, and you can see worm castings. |
|
|
The compost is pleasantly moist like a wrung-out sponge or like garden soil a few hours after rain. The lower tiers also have a pleasant moisture level. |
Temperature |
|
|
|
The worm humus is "hand warm." If the compost is significantly warmer than the surrounding temperature, you probably have given too much or too much protein-rich food. |
Co-inhabitants |
|
|
|
Various organisms are present, but not in extreme amounts. Some Co-inhabitants can be indicators of how the system is running. |
If any of these indicators show that things aren't going smoothly, then take action or contact us. We're always here for you if you have questions!
Immediate Measures
Over time, you will become an expert on your little ecosystem. You will immediately notice when the system is out of balance, and you will sense whether you need to take action or simply wait for the system to balance itself out again.
The most effective remedies for almost all worm composting problems
- Reduce or pause feeding: You can detect overfeeding by the smell. Learn with patience how much waste your worms can process. It might not always be the same amount.
- Regulate moisture:
- If the compost is too wet, add dry structural material and temporarily reduce the amount of feed.
- If the compost is too dry, add water. Moisten the surface with a spray bottle. Note: If the composter is very dry, it requires larger amounts of water (2-3dl).
- Play mole occasionally: At some point, you will feel the urge to stick your hands in the composter and thoroughly mix everything. This adds extra oxygen to the system and gives you a feel for the condition of your compost.
- Mix in moist soil (2-3 liters, e.g., garden soil)
- Sprinkle minerals over the individual elements: Mineral mix or rock dust
What to do if the compost is mushy and stinks?
- Mix in structural material or soil to get oxygen back into the system. Do not water anymore.
- Remove or otherwise dispose of rotten, mushy, or hot spots, e.g., bury in the garden/raised bed.
Related topics
TUBE
share
